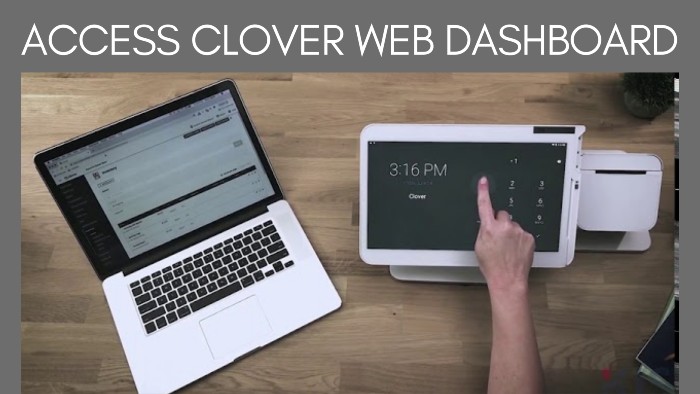
Through Clover Dashboard, merchants can track sales from any location and manage their business at any time. Clover Dashboard App provides a daily breakdown of your sales at a glance, as well as quick access to individual employee transactions. You can easily view all the details of your net sales.
To set up your Clover Dashboard account refer to the following section, or visit the official website at www.clover.com to get more information.
How to Set Report Preferences?
The Cover Reports give you a good idea of how your business is doing. You can customize the reporting to match your preferences using the Clover Dashboard. To sync your reports with your business day’s start time, select Setup and reporting after logging into your account at Clover.com.
Additionally, you can choose when to report a sale, whether at the time of payment or when the order is placed. The removed items report shows all items that have been removed from open orders and the employee who removed them. This report can be enabled by checking the corresponding box
Manage Order Preferences
To set your order preferences, go to setup, then order. If you want employees to take special instructions with orders and print them on the order receipt, specify order notes. By checking the checkbox next to each item, identical items can be grouped together in a register. Under order and setup types, order types such as salon and on location can be created. You can sort by order type in the orders tool and group by order type in your reports.
Payment Types
You can choose the type of payment you will accept under setup and payments. The option to enable offline payments is also available during times of network failure. A declined refund message means the card issuer was unable to authorize the card you were trying to refund. You may also refund the payment in cash, by crediting another payment card, or by crediting a gift card.